Automated onboarding (recommended)
Instructions for MS Teams automated onboarding
When you chose the Automated Onboarding, Lepaya will automatically create all the teams for the waves, so you don't have to do all that work manually! 🎉 For us to do that, we only need you to do 3 steps.
Overview
Let's walk through the steps required to set up the automated onboarding for MS Teams.
- Install the Lepaya app on your MS Teams tenant
- Run PowerShell Script (done by someone from IT)
- Testing
Step by step
1. Install the Lepaya app on your MS Teams tenant
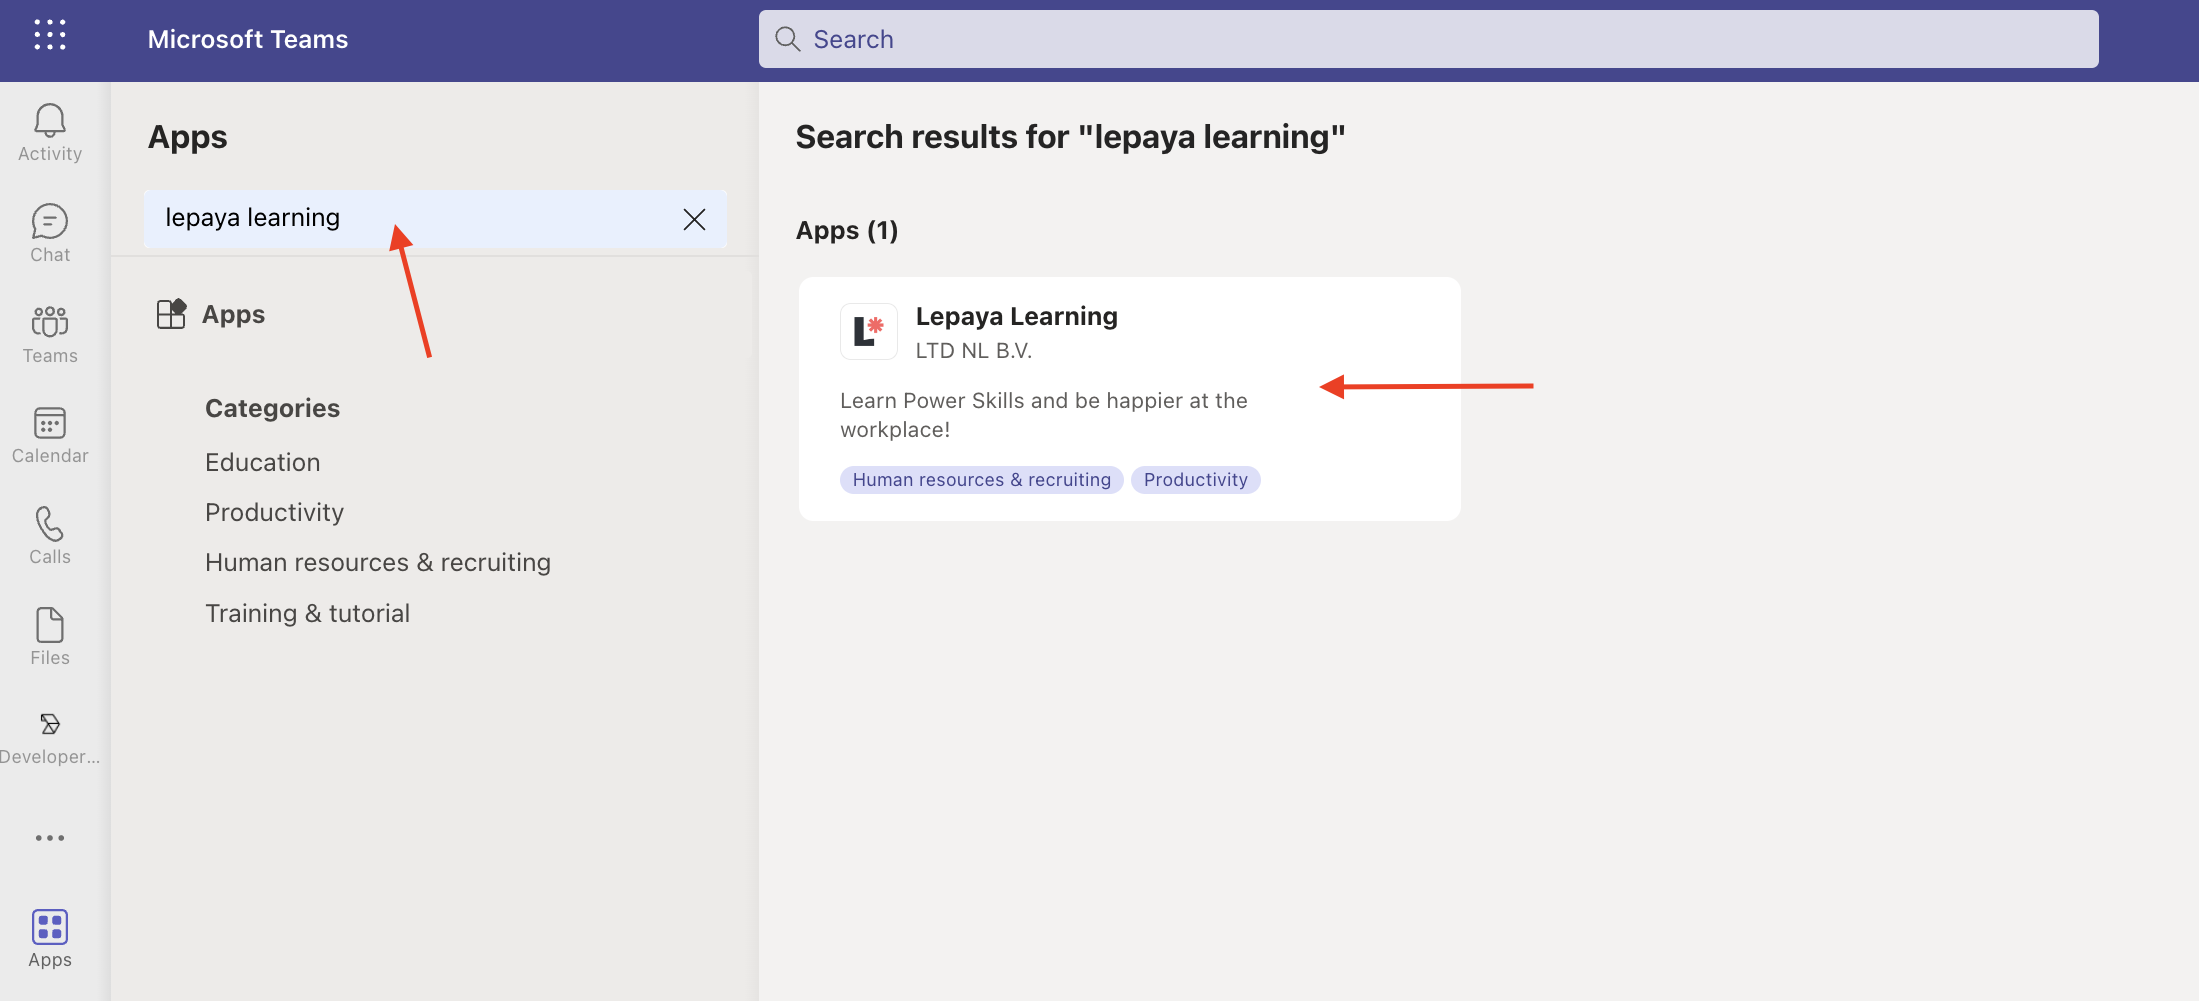
1.1 Go to the MS Teams app store and search for the Lepaya Learning App.
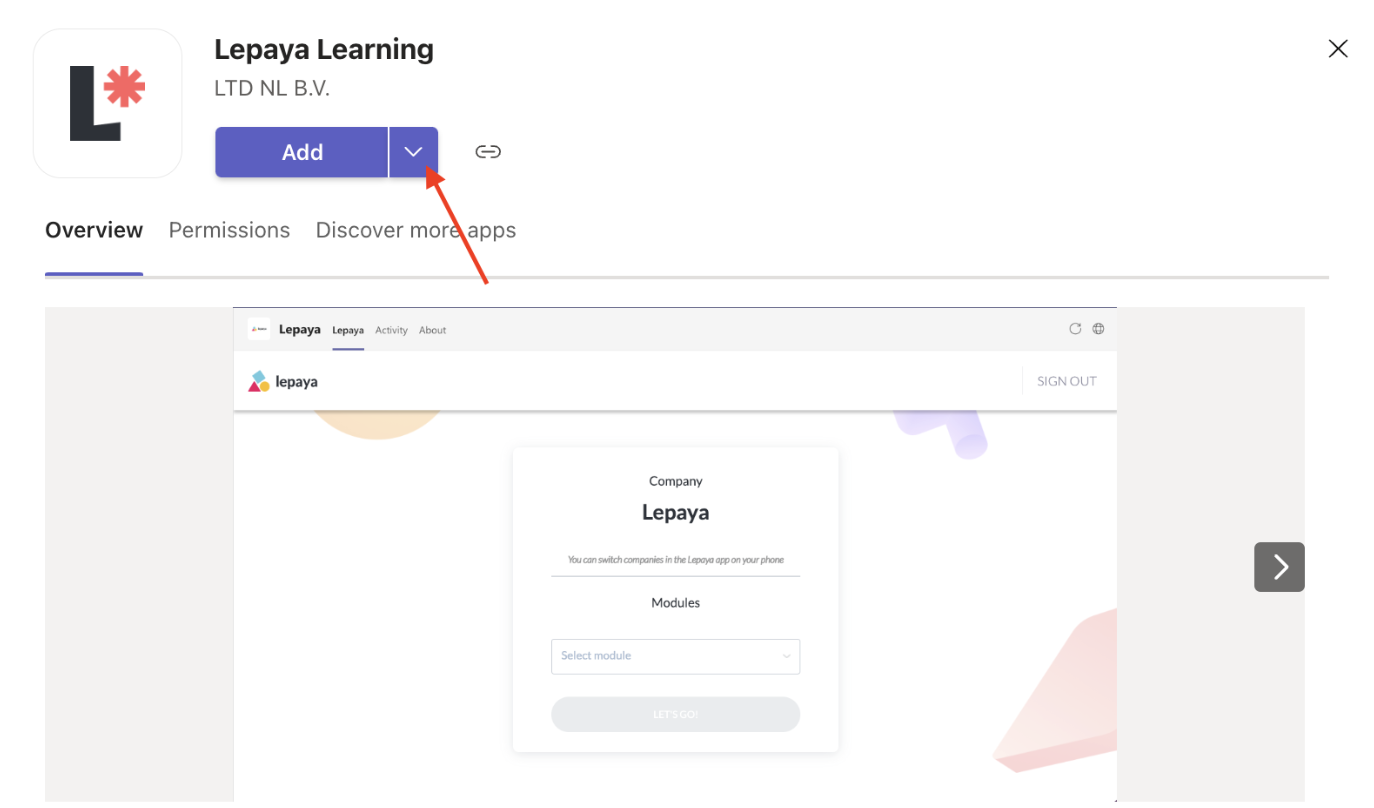
1.2 Click on it, then click on the down arrow next to Add and select Add to your organization.
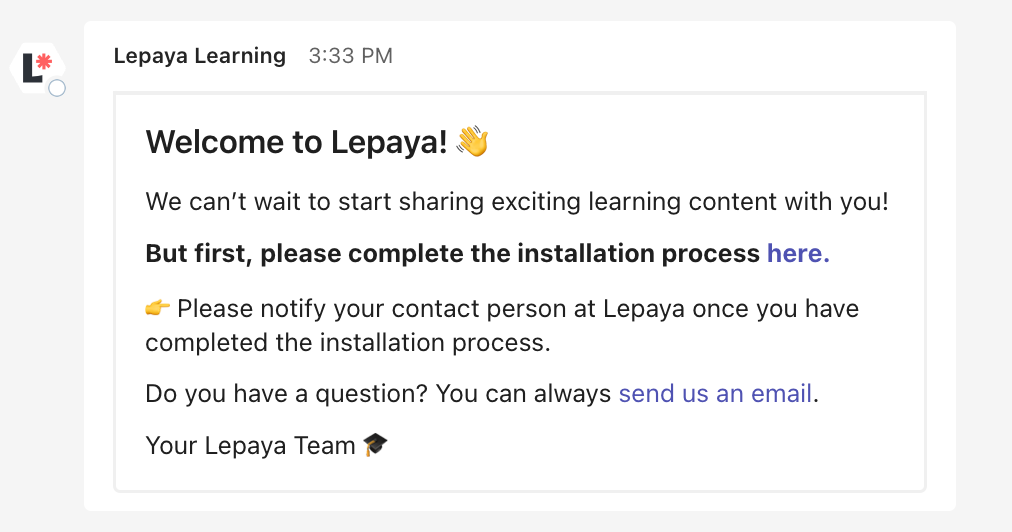
1.3 After adding the Lepaya Learning App, you will receive a welcome message that will guide you back to this document to continue the configuration process.
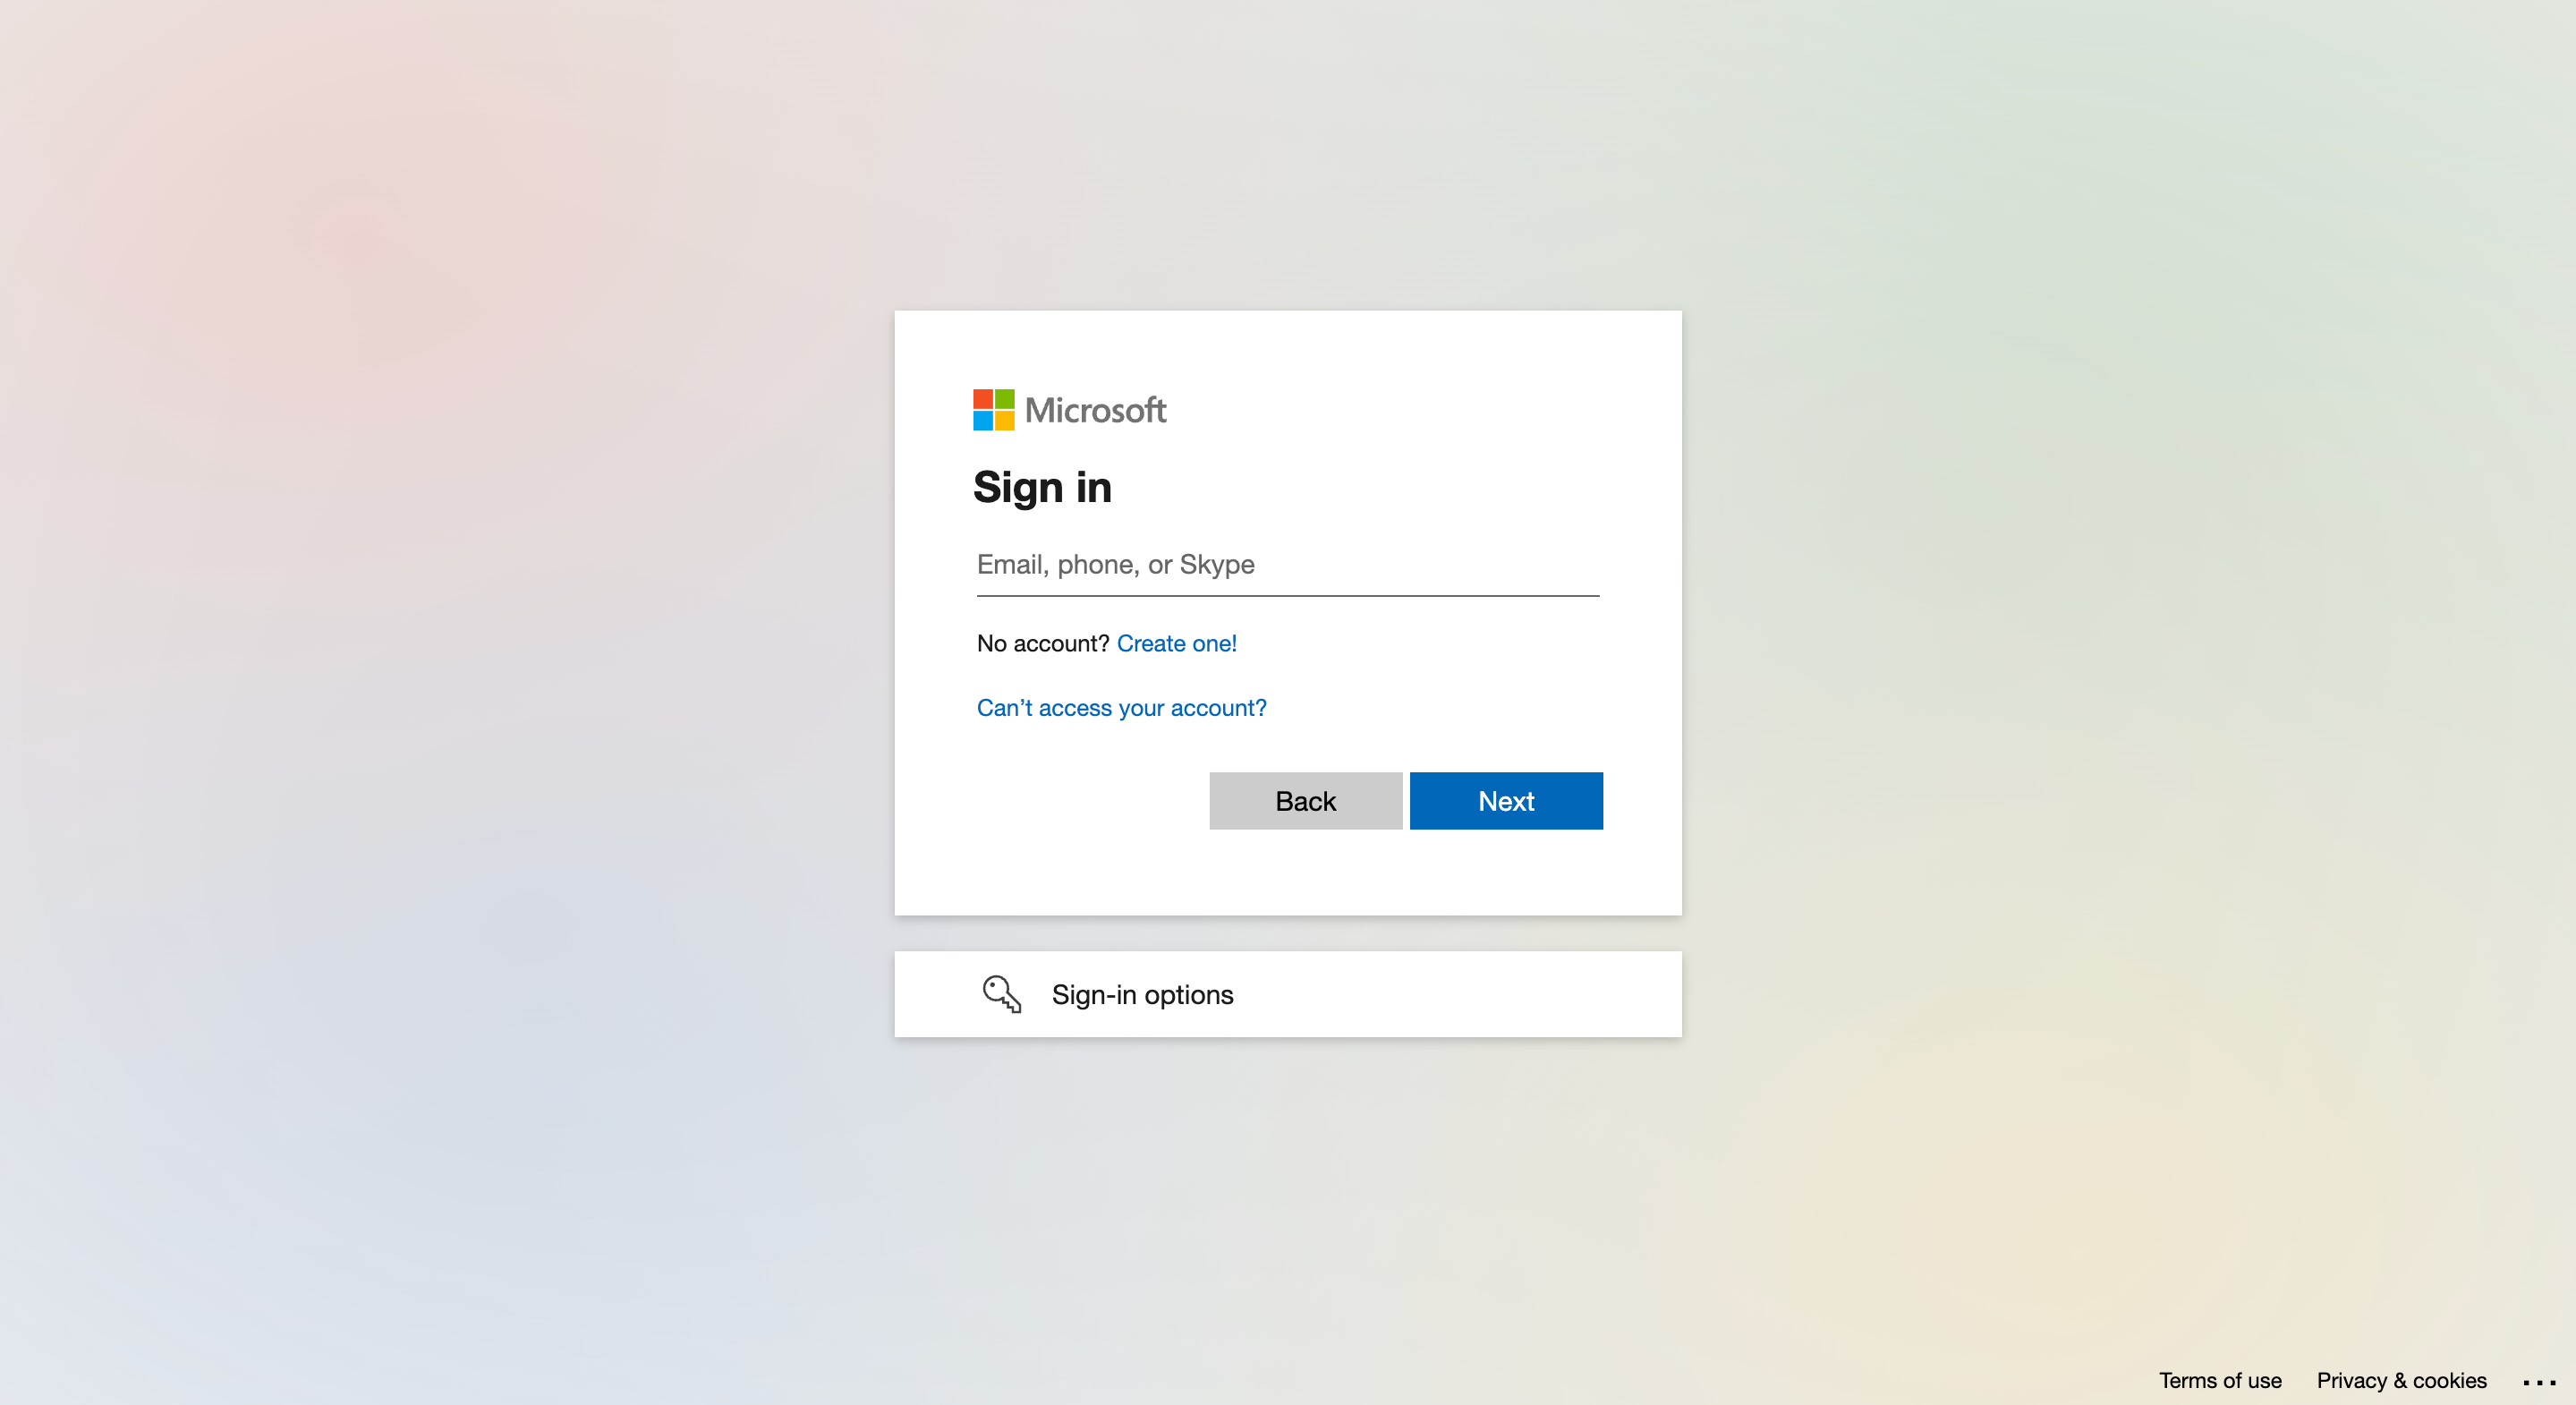
A pop-up asking you to log in will appear, please ignore this during setup
2. Run the PowerShell script
In order to create everything automatically, we need some additional permissions. You can grant us those permissions by running a PowerShell script, following the instructions below. We recommend that someone from IT does those steps.
2.1 To find the PowerShell script, please go to this Github page and download the script as illustrated below:
2.2 Open the zip and move the script to the folder you want to run it from.
2.3 Make sure PowerShell is installed on your machine (Installation instructions)
2.4 In your terminal, go to the directory where you saved the script
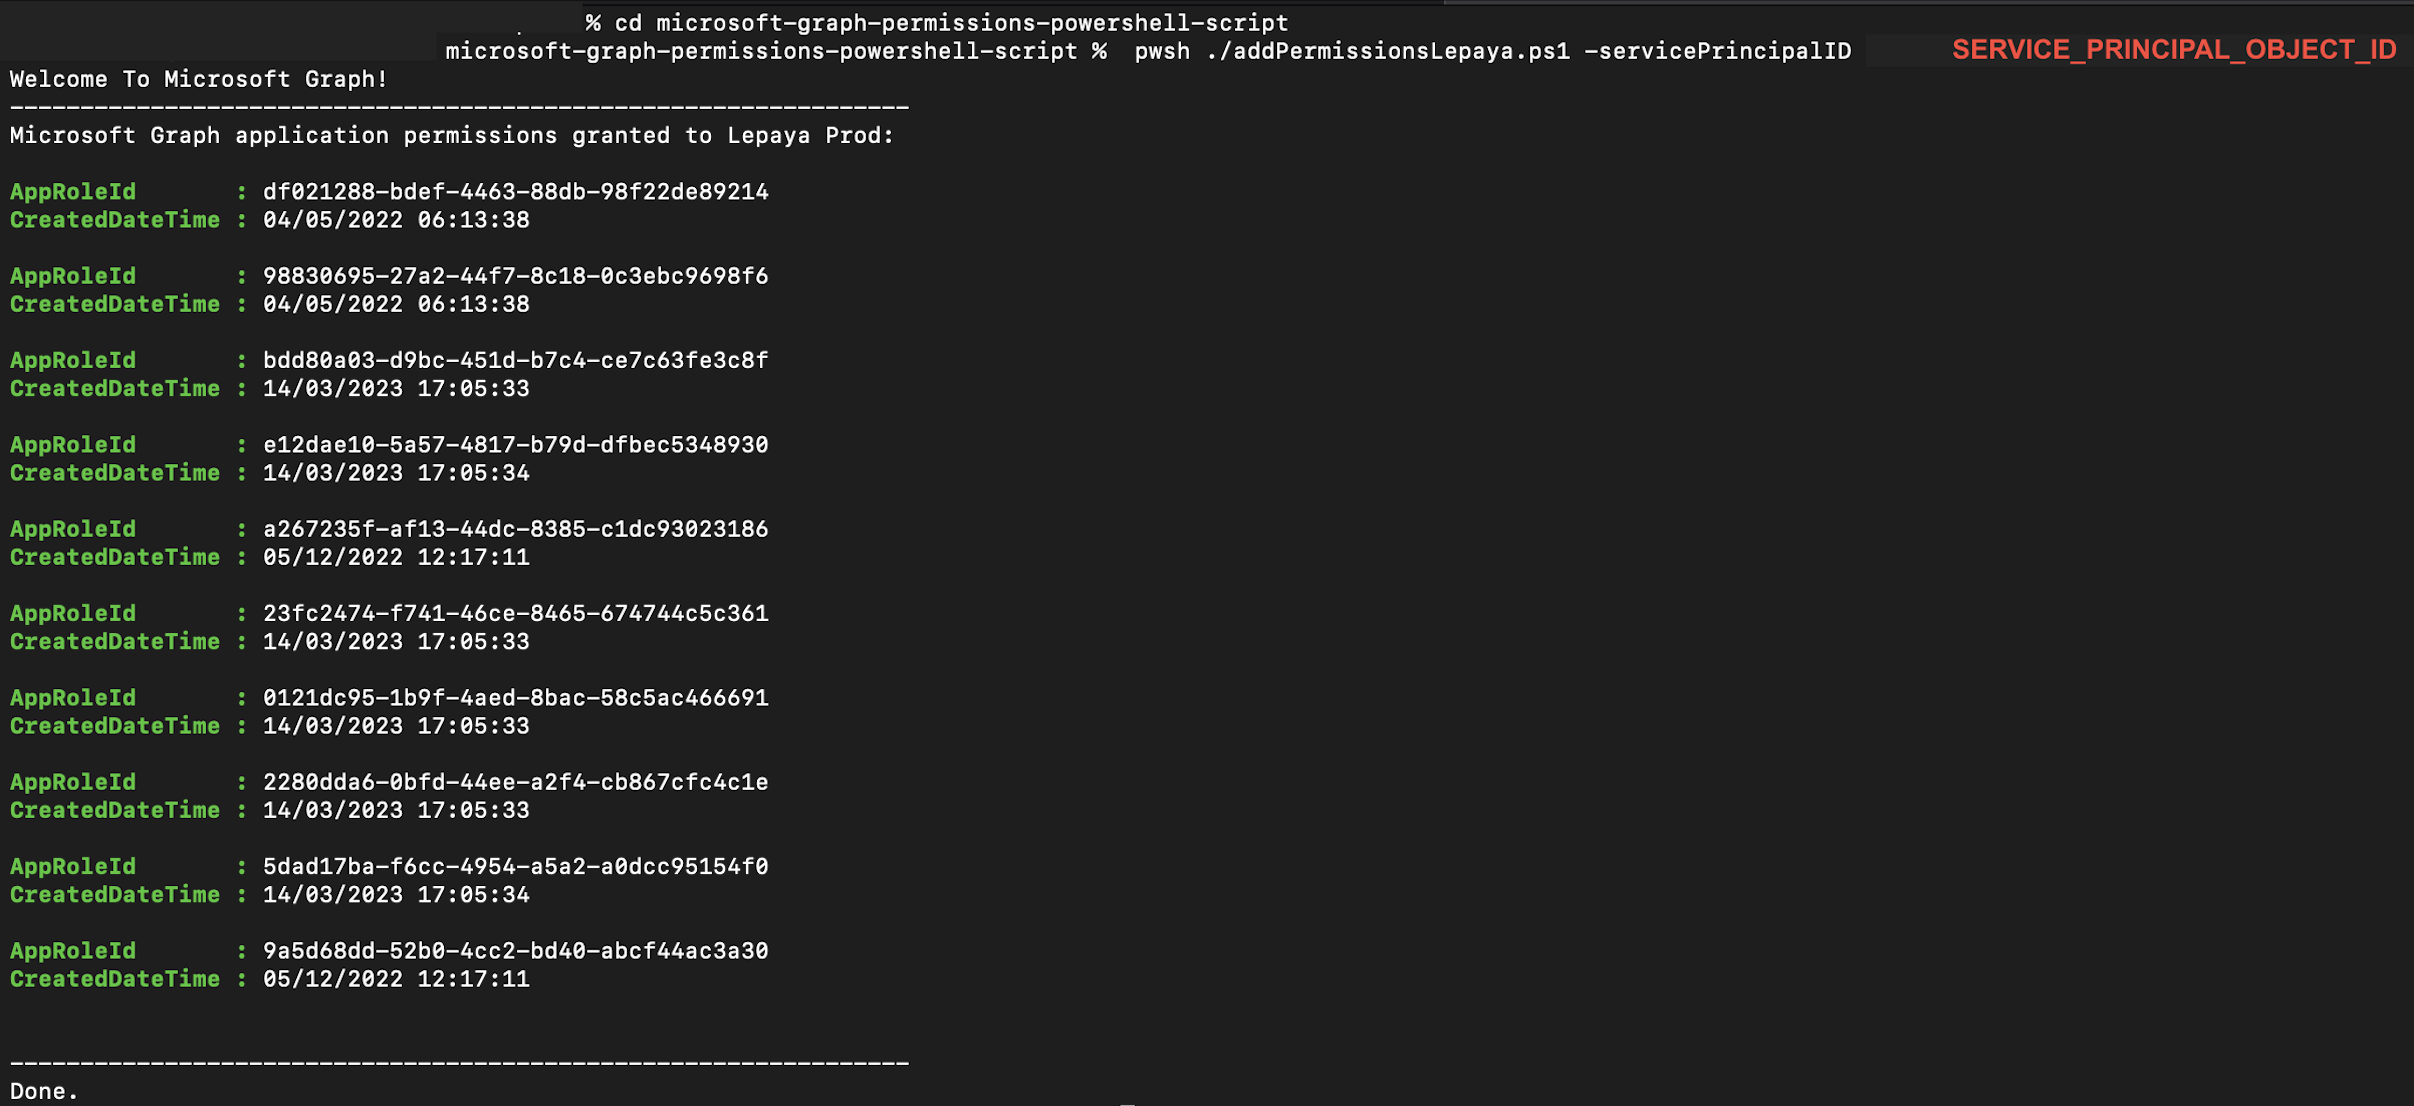
2.5 Run the addPermissionsLepaya PowerShell script as described below:
pwsh ./addPermissionsLepaya.ps1 -servicePrincipalID SERVICE_PRINCIPAL_OBJECT_IDYou will need one parameter, called -servicePrincipalID (instructions on how to get it here)
2.6 You might need to sign in with an admin account to consent to the required scopes after running the command
The command prompts you (perhaps several times) to go to a web page to sign in. Once you've done that, the command indicates success with a Welcome To Microsoft Graph! message. You only need to sign in once per session.
2.7 After the whole operation has been completed you should be able to view the list of permissions granted for the Lepaya app.
If you like, you can see a video with an overview of steps 2.4 to 2.7 here
2.8 Reach out to your Onboarding & Implementation Manager, and let them know that you finished the step by step.
Share with them your domain name and Microsoft Azure tenant ID information. (you can find it by clicking here)
After you have run the PS script:Please do not Grant Permissions from the MS Teams message or the admin console anymore as this would reset the permissions granted by the PS script!
3. Testing
Once your Onboarding & Implementation Manager has confirmed everything looks good on our side, they will setup a test program in our app and add you to it.
When we sync the test program from our app, the following will happen:
- A Team will be created
- You will be added to this team
- You will receive a private message from the Lepaya bot
To test, please follow the instructions in the message, login to the Lepaya app on MS Teams and make sure you can access the content.
Thank you!
Run into issues?Please share the exact errors (screenshots/screen recording) with your Onboarding & Implementation Manager so we can have a look and support asap.
Additional information
How to get the -servicePrincipalId parameter
The PS Script requires one parameter and that is -servicePrincipalId. To find this value, please:
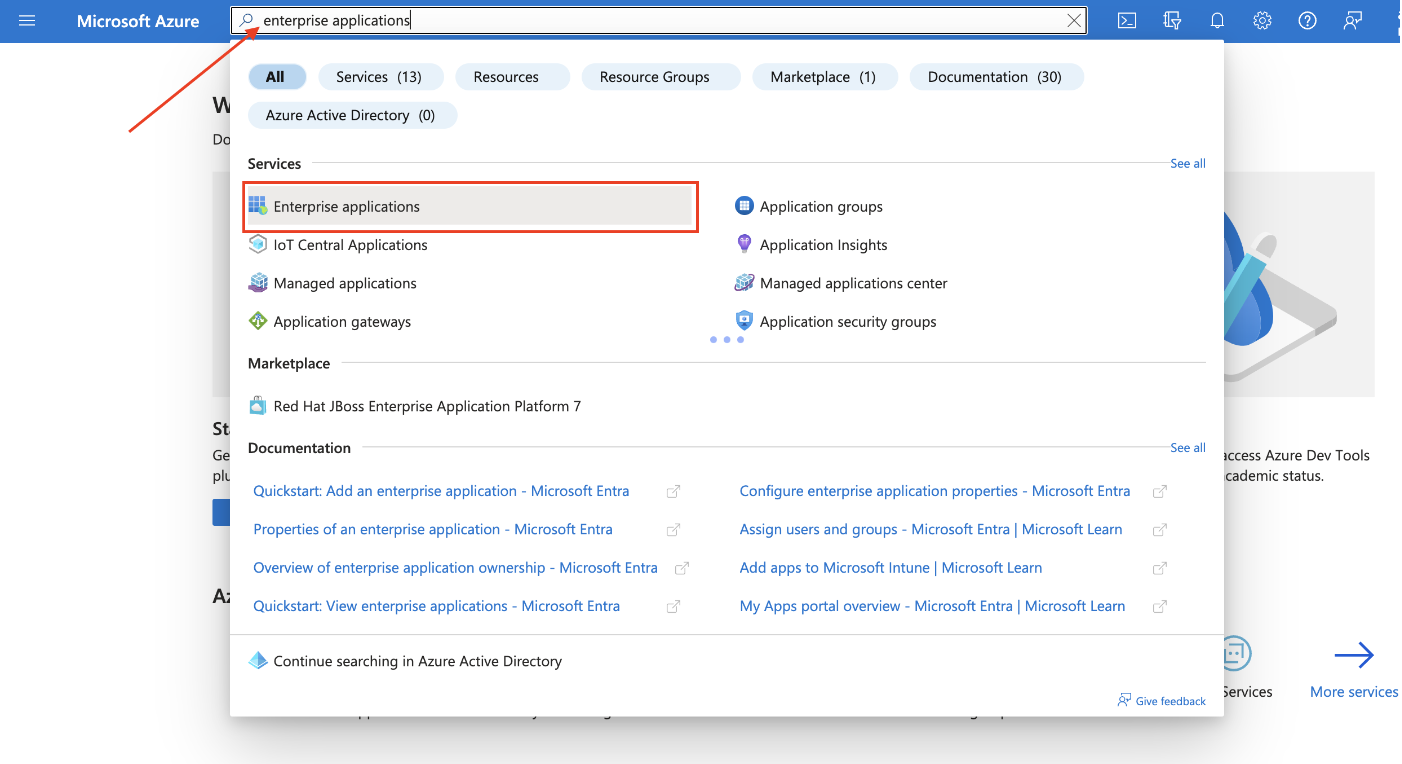
- Go to Microsoft Azure portal -> Enterprise applications
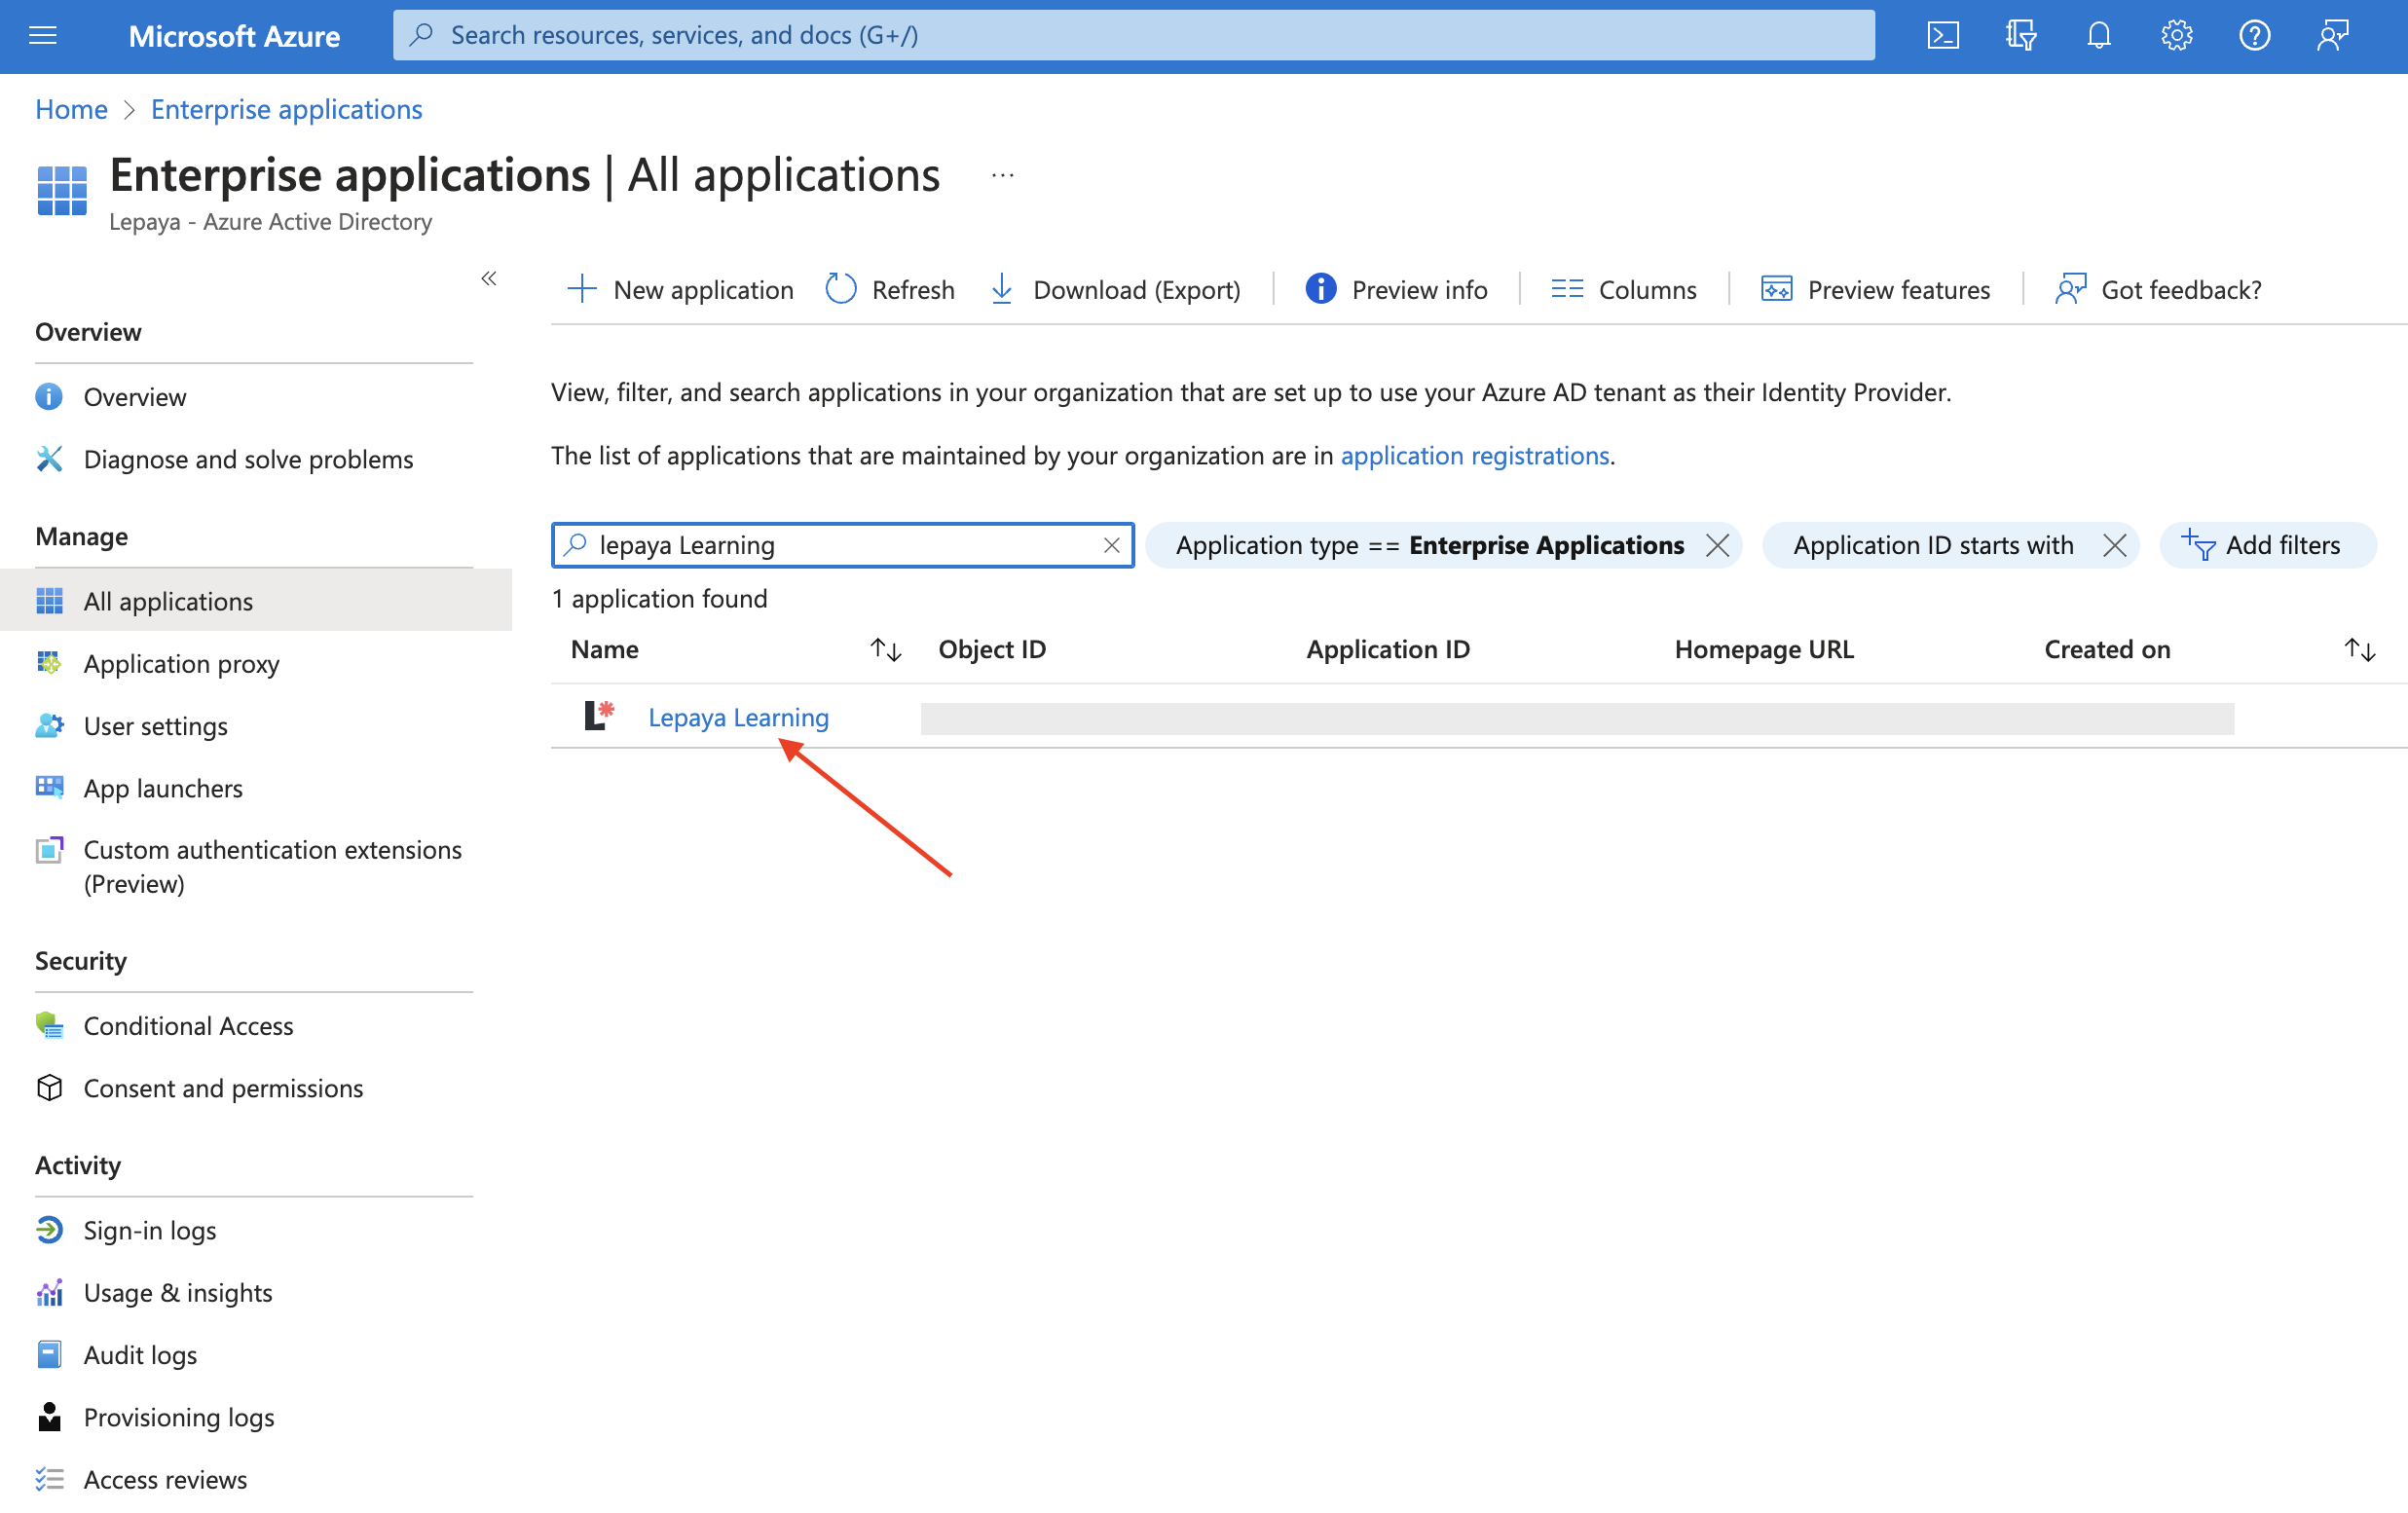
- Select the Lepaya app from the list
- Copy the Object ID (service principal object id) value
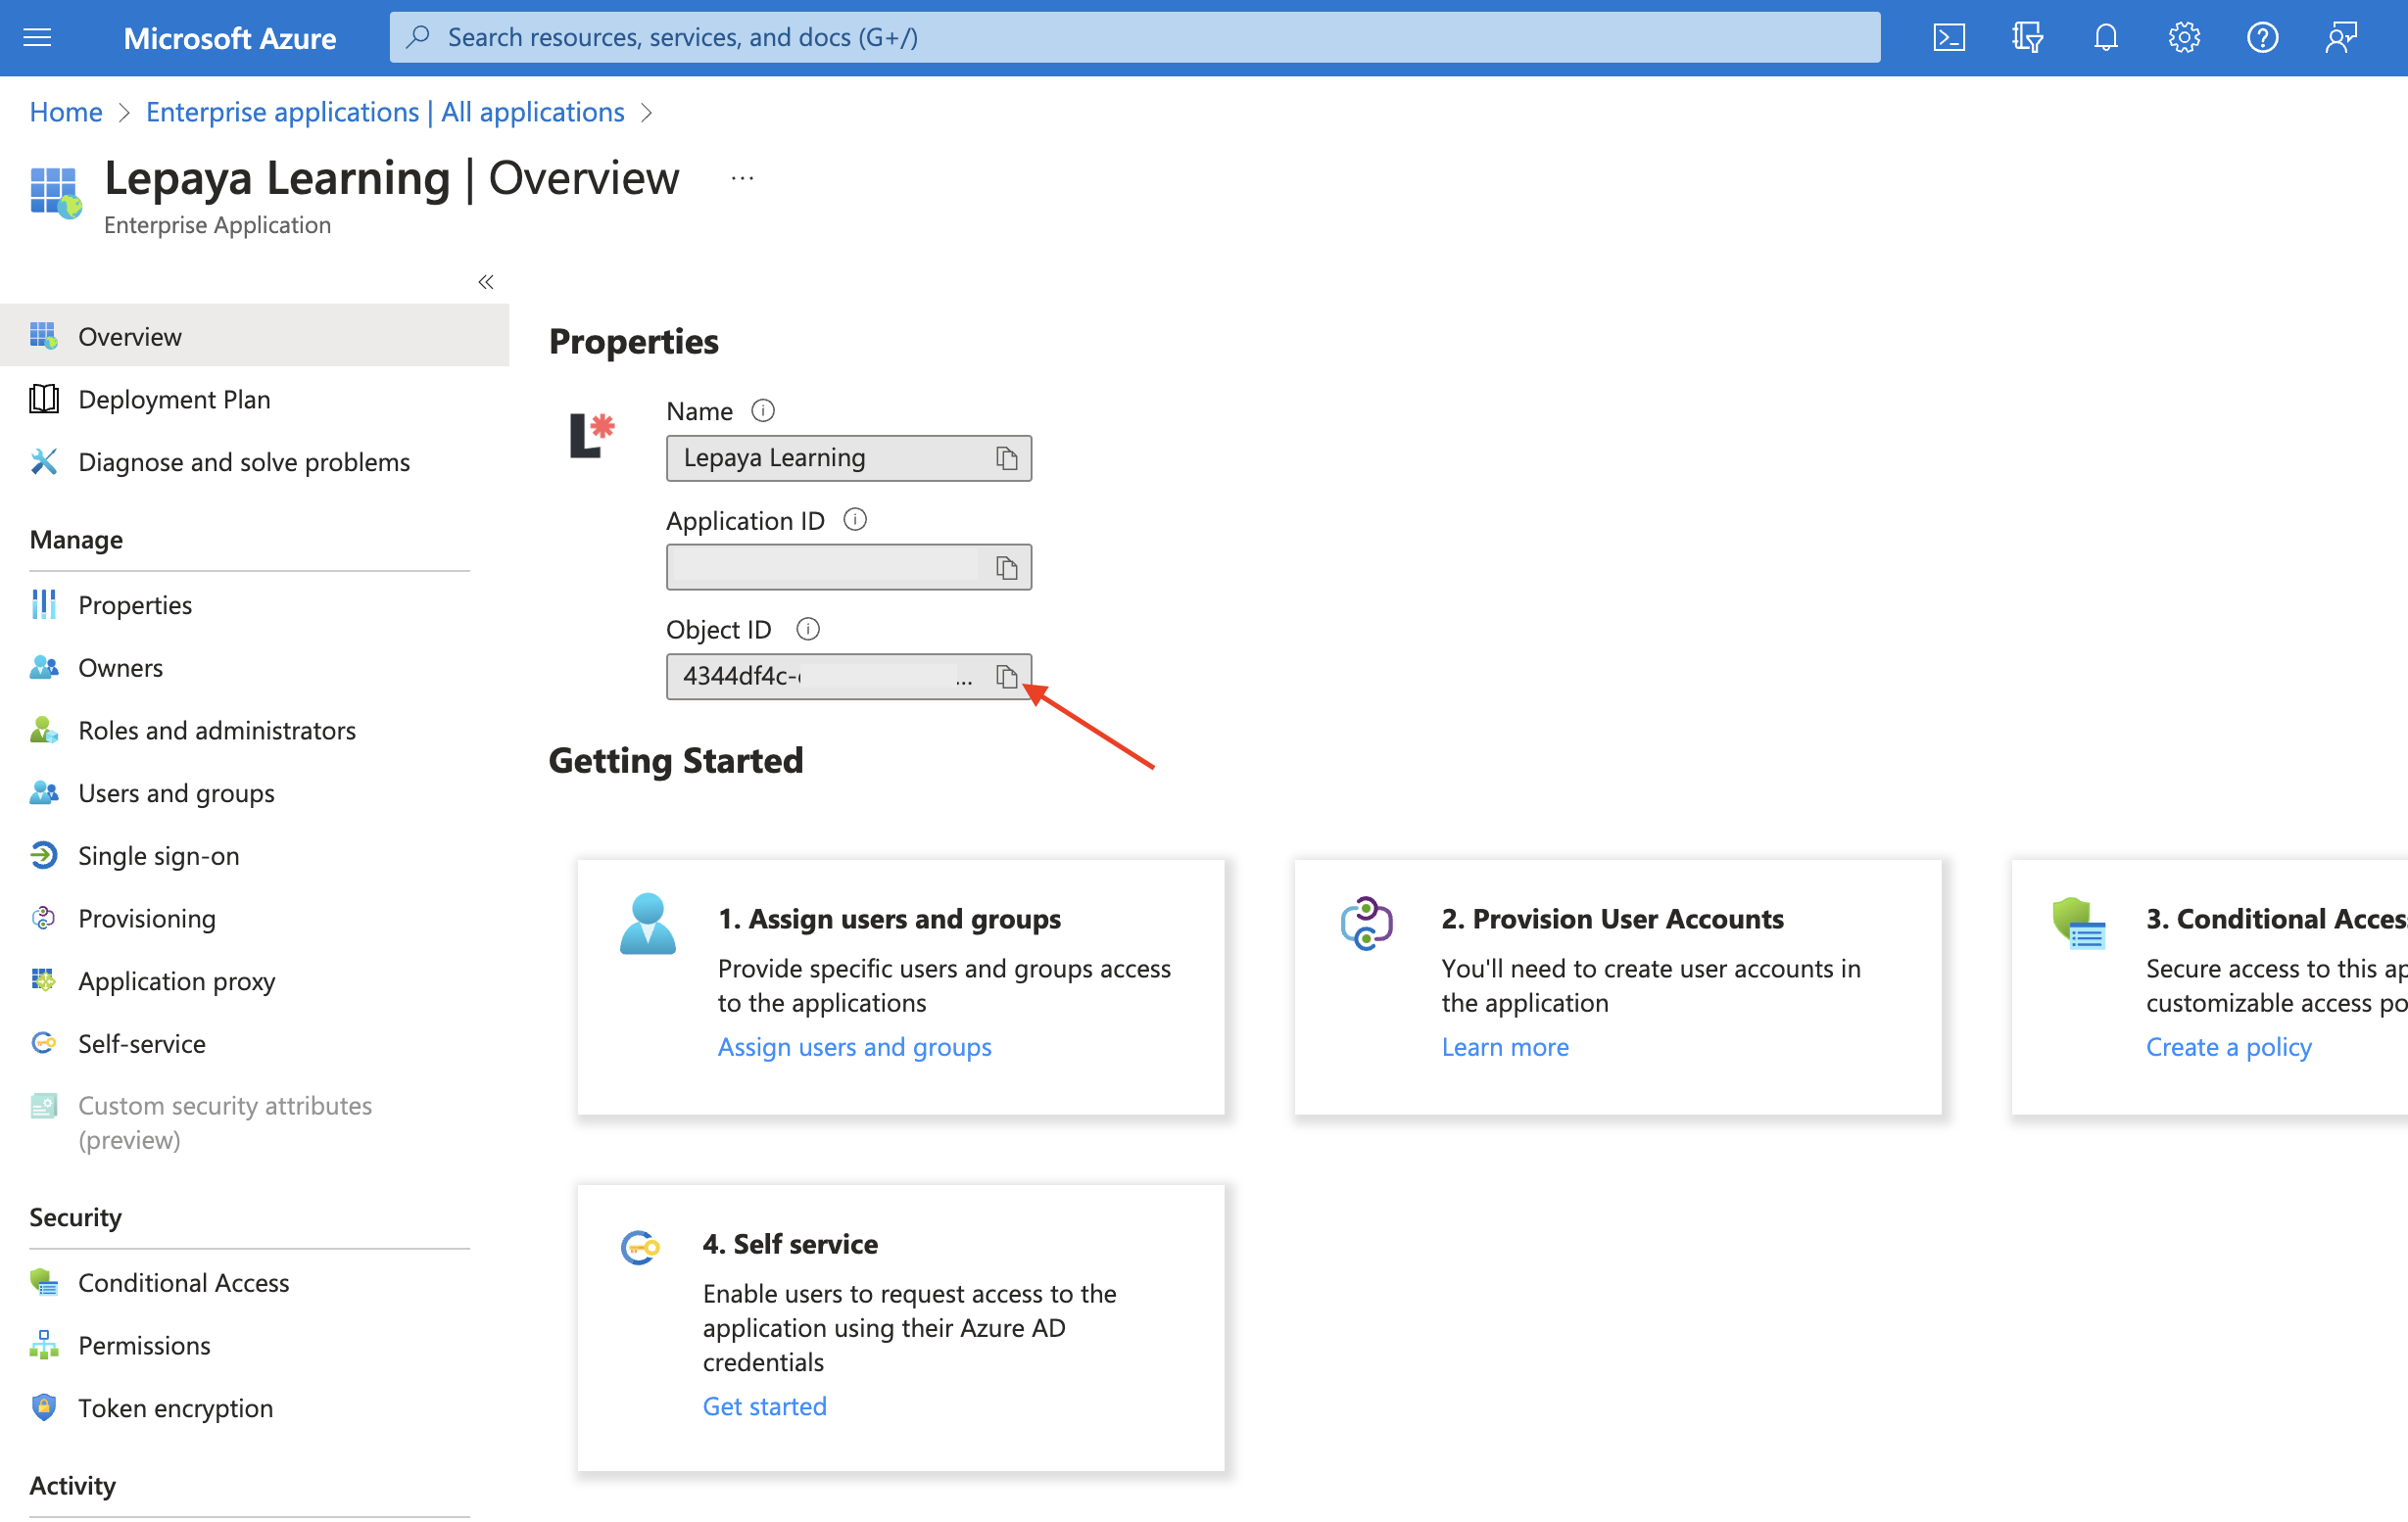
- Replace the
SERVICE_PRINCIPAL_OBJECT_IDplaceholder with the copied Object ID value into the addPermissionsLepaya command (step 4) - click here to go back to the step by step instructions
Overview of step 2.4 to 2.7
Updated 3 months ago